
How to Cut 3D Decorative Wall Panels?
Cutting 3D decorative wall panels is an important part of the installation process. Because it makes sure they fit well and look good. To cut 3D decorative wall panels, first mark the cut line. Then, use the right equipment for the material of your panel, like a circular saw, mitre saw, or utility shears.
To have a clean cut, some materials need to be cut with the ornamental side up. And others need to be cut with the rear side up to keep from chipping and scratching. Always wear safety glasses, and for the best results, cut slowly and carefully. First, practice on a spare piece.
Table of Contents
What Are 3D Wall Panels?
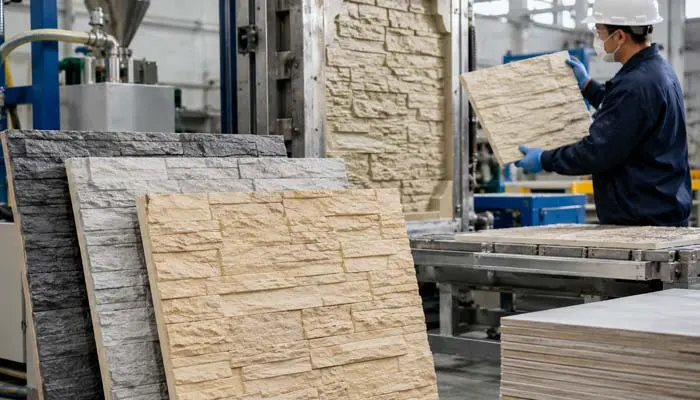
3D wall panels are decorative materials that make walls look better. They come in a wide range of styles and materials that may add depth and texture to any area. Most of the time, these panels have a modular design that makes them easy to install and change.
Choosing the right wall panels can lower the dangers of installation. Many people say that 3D wall panels may easily turn plain walls into beautiful focal pieces that fit with modern home layouts.
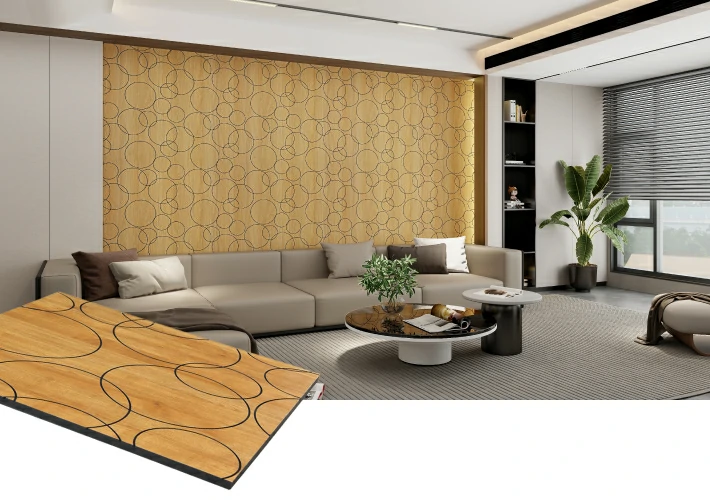
Unleash Creativity Aesthetic Versatility 3D Wall Panels
3D Wall Panels are more than static decor—they're dynamic elements that allow you to engage with your space...
View MoreEssential Tools for Cutting 3D Wall Panels
To cut 3D wall panels securely and accurately, you need the right tools. You need a mix of cutting equipment, measuring and marking tools, and safety gear to get professional results. The sort of material you are cutting will determine the tools you use, and this can have a big effect on how well the cutting goes.
According to home improvement statistics, utilising the right tools can cut down on mistakes by 25%. A professional installer said that employing high-quality tools sped up the completion of a project by 30% in real life.
Cutting Tools
For the actual process, cutting instruments are the most critical. You may need different kinds of saws or cutters depending on the material of the wall panel. Using a fine-toothed saw on PVC, for instance, can keep it from chipping. WPC can be cut with circular saws, but acoustic panels need mild cutters.
Changing tools in a DIY bedroom project saved time and effort by avoiding having to cut things many times. Different cutting tools serve different functions:
- Mitre saw: For straight cuts
- Hand saw: Features fine teeth to maintain smooth edges
- Multi-purpose shears: For cutting soft materials
- Jigsaw: For cutting intricate shapes
Measuring and Marking Tools
To cut accurately, you need to measure correctly. To mark the panels correctly, use a pencil, a square, and a tape measure. These instruments make sure everything is in the right place and cut down on waste.
Common mistake analyses show that 20% of DIY projects fail because of wrong measurements. In real life, double-checking marks can save money on materials and stop changes from happening later. You might need to draw 45° angle lines for corner cuts to make sure the joints are precise.
Safety Equipment
Cutting should never put safety at risk. Safety goggles, work gloves, dust masks or respirators, and earplugs are all basic safety gear. These devices can keep flying debris and hazardous particles from getting into the air.
Safety goggles keep dust out of your eyes. Gloves help you hold on to things better and protect you from sharp edges. And dust masks are necessary for materials that let particles out, and earplugs are for power equipment. Make sure the area is well-ventilated and has a first aid kit close at hand. Always wear safety glasses when cutting to protect your eyes from chips and scratches.
- Safety goggles or glasses: Protect eyes from flying debris and dust.
- Work gloves: Protect against sharp edges and improve grip.
- Dust mask or respirator: Essential for materials that release harmful particles.
- Earplugs: Recommended for power tools.
Preparation Before Cutting
To cut 3D wall panels successfully, you need to be well-prepared. Before you begin, make sure the panels are acclimated. Measure the area where you will be installing them, and set up a clean work environment. These methods stop harm from variations in temperature or humidity.
Experts say that smart planning can cut down on installation problems by 15%. Ignoring acclimation during a home repair caused panels to warp and required spending more money.

Adapt to the Installation Environment
Acclimating 3D decorative wall panels to the installation environment is crucial. This prevents damage from temperature or humidity changes. Typically, let the panels sit indoors for 24-48 hours. This step ensures stability. In a humid bathroom project, acclimation resulted in perfect panel fitting without shrinkage.
Measuring the Installation Area
Make sure you measure the wall space correctly, taking into account any impediments like windows or outlets. Plan the panel layout so that you don’t have to cut too much. According to data on DIY blunders, faults in measurement cause 10–20% of materials to be wasted. Double-check dimensions and be sure to think about expansion gaps. In an office setup, accurate measurements saved enough materials for two panels.
Creating a Proper Workspace
First, we should build a sturdy workbench. It should be able to support the entire length of the board to enable safe and efficient cutting. Make sure the surface is flat, solid, and at a height that is comfortable. Good lighting cuts down on mistakes, and having enough room makes it easier to use tools. And keeping tools organised keeps them working well.
Safety rules say that keeping your office neat can make accidents less likely. When undertaking DIY projects, a cluttered workspace can lead to tools slipping and falling. This clearly demonstrates the importance of keeping your work area organised and tidy.
Before you start cutting, check the panel material to see what tools will work best. Then, plan the layout and mark it with a pencil. Get the right saw blades and safety gear ready. If you can, practice on scrap material first to get used to the material and tools. So you don’t make mistakes when you cut for real.
| Workspace Considerations | Description | Benefits |
| Lighting | Place in a well-lit area | Clearly see cutting lines, reduce errors |
| Space | Easy-to-operate panels and tools | Keep tools organised and within reach |
| Tool Organization | Keep tools organized and within reach | Maintain workflow efficiency, reduce fatigue |

How to Cut 3D Wall Panels: Step-by-Step Guide
Following a set plan makes it easier to get smooth results when cutting 3D decorative wall panels. This guide provides step-by-step instructions to ensure a correct and efficient installation. Every step has clear instructions to help keep you safe and accurate. The step-by-step procedure reduced cutting time by 20% in real-life applications.
Measuring and Marking Panels
Accurately measure the installation area and mark the panels with a pencil. Ensure marks are clear and precise. Double-check to avoid errors. In a bathroom project, inaccurate marking led to recuts and wasted time. Use a pencil to draw clear cutting lines on the panel. For corners, you may need to make 45° angle cuts to ensure perfect seams.
Securing the Panel for Cutting
Secure the panel on a stable surface to prevent movement. Use clamps or an assistant. This achieves straight cuts and reduces accident risks. According to safety rules, improper securing accounts for 15% of injuries.
Panel placement depends on the material. For some materials (like PVC), place the decorative side up to avoid scratches from fine-toothed saws. And for others (like gypsum), place the decorative side down to prevent chipping from electric saws.
Initial Cutting
Use a utility knife to score along the marked line, making multiple passes to deepen. For snap-able panels, apply even pressure for a clean break. Operate slowly to prevent cracks. In a wall panel art installation, multiple scorings ensured perfect edges.
When cutting, be sure to proceed slowly and carefully. Whether using electric or manual tools, take your time to achieve clean, straight cuts and avoid damaging the panel. If necessary, use a straightedge or cutting guide to keep your hand steady and the line straight.
Finishing the Cut
Inspect the edges for roughness and sand unidirectionally with 180-220 grit sandpaper. This step is crucial for professional finishing. Smooth edges improve installation functionality. In commercial projects, sanding resulted in seamless joints and enhanced aesthetics.
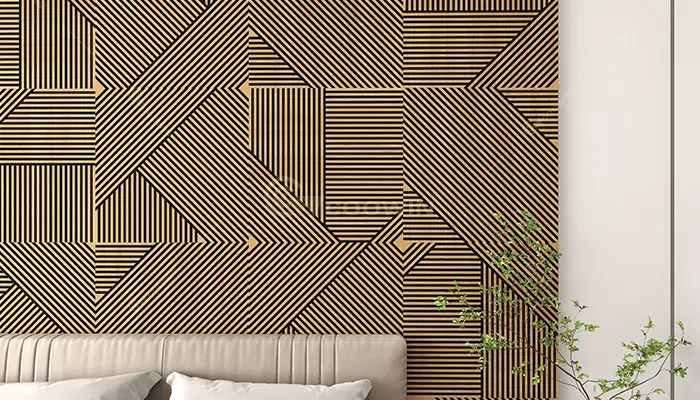
Different Cutting Techniques for Various Panel Materials
Effective cutting of 3D wall panels requires understanding specific techniques for different materials. Choosing the right method ensures clean cuts. According to industry best practices, material-specific tools reduce damage. In a recording studio project, adapting acoustic material techniques avoided sound leakage issues.
Cutting PVC and Plastic Panels
PVC and plastic panels are durable and versatile. Use a sharp utility knife or a fine-toothed saw for clean cuts. Secure the panel to prevent movement. According to guides, the score-and-snap method is suitable for straight cuts.
In a kitchen renovation, this method was quick and efficient without generating waste. For softer plastics, multi-purpose scissors are effective. Use even short clipping motions to avoid damage, and consider clipping halfway, then completing from the other side.
Cutting Wood and WPC Panels
Wood and WPC require different approaches. A circular saw or jigsaw with fine-toothed blades is ideal for precise cuts. For complex cuts, use a variable-speed jigsaw. Apply gentle pressure and let the saw do the work. Fine-toothed blades minimised chipping and improved durability. Mitre saws with PVC or laminated wood-specific blades are a good choice for straight cuts. Hand saws should use a fine tooth pitch to prevent rough edges.
Cutting Acoustic and Foam Panels
Acoustic and foam require gentle techniques. Use a sharp utility knife or craft knife, with a metal straightedge to guide straight cuts. For complex shapes, make multiple shallow cuts to avoid damage. In a home theatre, this method preserved sound absorption integrity. For materials like gypsum, use a circular saw with dry diamond blades. Jigsaws are suitable for cutting curves or complex shapes.
| Panel Material | Recommended Cutting Tools | Tips |
| PVC/Plastic | Utility knife or fine-toothed saw | Secure the panel firmly |
| Wood/WPC | Circular saw or jigsaw | Use fine-toothed blades for precision |
| Acoustic/Foam | Utility knife or craft knife | Make shallow cuts for complex shapes |
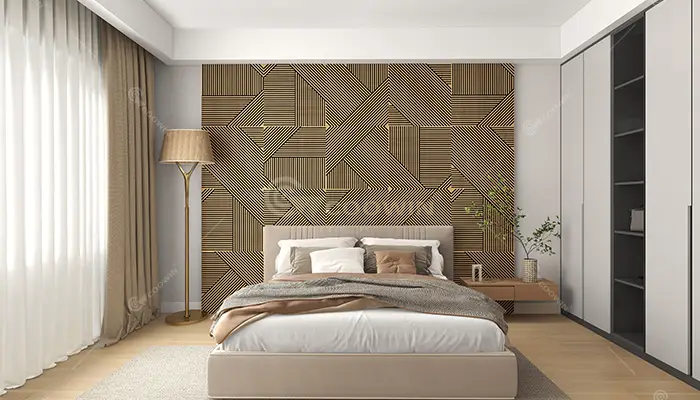
Special Cuts and Shapes
Mastering special cut techniques ensures seamless fitting. Especially when handling wall features like outlets and switches. Precise measurement and tool selection are key. According to DIY errors, improper cuts account for 25% of failures.
- Cutting Straight Lines: Straight line cutting is fundamental. Use a sharp utility knife or fine-toothed circular saw for clean cuts. Measure and mark carefully before cutting. According to standards, taping along the line can prevent tearing.
- Making Curved Cuts: Curved cuts are best done with a jigsaw. Use fine-toothed blades to minimise chipping. Proceed slowly to ensure smooth curves. In an art wall project, this tool created custom shapes and enhanced the design.
- Creating Cutouts for Outlets and Switches: Creating cutouts requires precision. Turn off the power, measure positions, and transfer to the panel. For rectangles, drill corner holes and connect with a jigsaw. Make cutouts slightly larger for adjustments. According to safety, turning off the power prevents accidents.
Troubleshooting Common Cutting Problems
Precise cutting of 3D wall panels can be extremely challenging. Therefore, troubleshooting common issues is crucial for a smooth installation. Addressing chipping, uneven cuts, and measurement errors ensures quality.
- Dealing with Chipping and Cracking: Minimise chipping with the right tools and techniques. Sharp blades and taping along the line prevent tearing. Slow cutting is crucial.
- Fixing Uneven Cuts: For uneven cuts, check techniques and tool conditions. Adjust methods for smoothness. According to error analyses, dull blades are a common cause.
- Addressing Measurement Errors: Measurement errors can be mitigated through multiple verifications. Always double-check marks. Patience in the measuring and marking step is key.
Conclusion
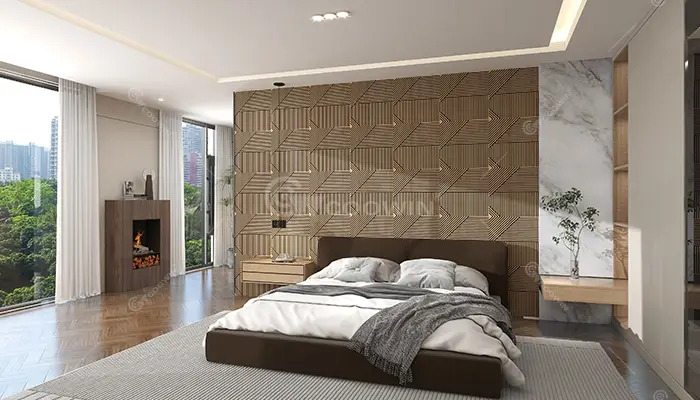
Installing 3D wall panels is the final step in transforming your space. Dry-fit all cut panels to ensure precise patterns. Use a level to align the first row, and apply adhesive according to the manufacturer’s instructions to avoid damage.
FAQ
How to ensure accurate measurements when cutting wall panels?
Use a tape measure to measure the installation area and mark the panel with a pencil. Double-check before cutting.
How to prevent chipping when cutting wall panels?
Use a sharp blade and tape along the cut line to secure the panel and prevent tearing.
What safety equipment should be used when cutting wall panels?
Safety goggles, dust masks, and gloves are recommended to protect against debris and sharp edges.
How to make curved cuts on wall panels?
Use a jigsaw with a fine blade and carefully follow the marked curve. For complex curves, use a coping saw or bandsaw.
Related Post
Share

Contact with us
※ We'll contact you within 24 hours. Check out the spam box in case that the mail is blocked.
Latest blog


How Many Acoustic Panels Do You Need for a Room?
August 10, 2026